Snake plants (Sansevieria) are among the most forgiving houseplants to propagate, making them perfect for Canadian gardeners looking to expand their indoor jungle without spending a fortune. Whether you’re in a cozy apartment in Quebec (zone 4) or a bright Vancouver home in zone 8, propagating snake plants is a rewarding project that works year-round indoors. This guide walks you through three reliable propagation methods, each with honest pros and cons, so you can choose the best approach for your skill level and timeline.
| Propagation Method | Timeline to Roots | Difficulty | Keeps Variegation? |
|---|---|---|---|
| Water propagation | 4-8 weeks | Beginner | No |
| Soil propagation | 6-10 weeks | Beginner | No |
| Division (rhizomes) | Immediate (already rooted) | Intermediate | Yes |
Why Propagate Snake Plants
Cost-Effective Plant Collection
A single mature snake plant can yield multiple new plants through leaf cuttings or division, saving you $15-30 CAD per plant at Canadian garden centres. For Ontario gardeners dealing with dry winter indoor air (zone 5-6), having backup plants ensures you always have healthy specimens even if one struggles with seasonal stress.
Share With Fellow Plant Lovers
Propagated snake plant pups make excellent gifts for friends and family across Canada. They’re nearly indestructible, tolerate low light, and thrive in the heated indoor environments common from October through April in provinces like Manitoba and Saskatchewan (zones 2-3).
Rescue Damaged Plants
If your mother plant suffers from overwatering or pest damage, propagation lets you salvage healthy leaves and start fresh. This is especially valuable during Canadian winters when root rot from overwatering becomes more common due to reduced evaporation rates.
Best Time to Propagate Snake Plants
Spring Through Summer Advantage
While snake plants can be propagated year-round indoors, spring and summer (May through August) offer the fastest root development. Longer daylight hours and warmer ambient temperatures in Canadian homes naturally accelerate callus formation and rooting. British Columbia gardeners in zone 8 may see roots in as little as 3-4 weeks during peak growing season.
Winter Propagation Considerations
Propagating during Canadian winters (November through March) is entirely possible but requires patience. Expect rooting timelines to extend by 2-4 weeks due to lower light levels and cooler indoor temperatures. Quebec and Ontario gardeners (zones 4-5) should position cuttings near south-facing windows and avoid cold drafts from poorly insulated windows.
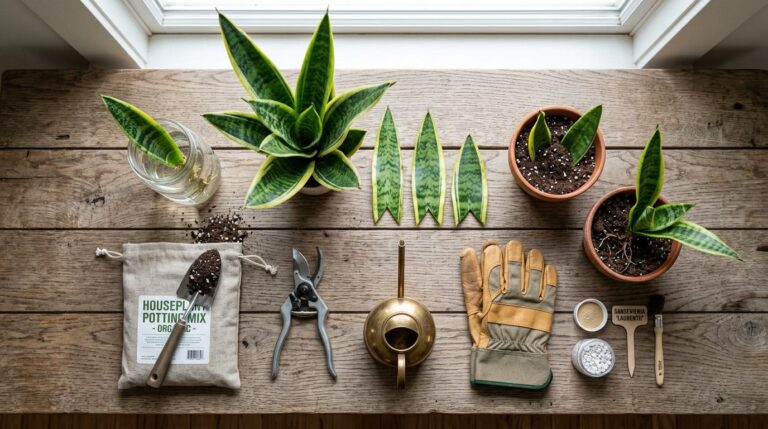
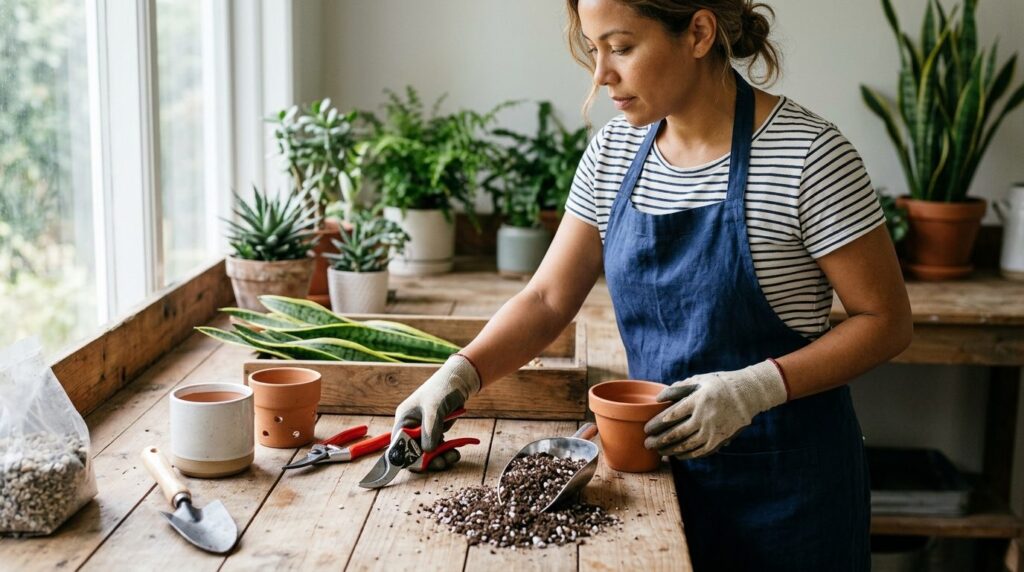
Required Materials
- ✂️ Clean, sharp pruning shears or knife (disinfect with rubbing alcohol)
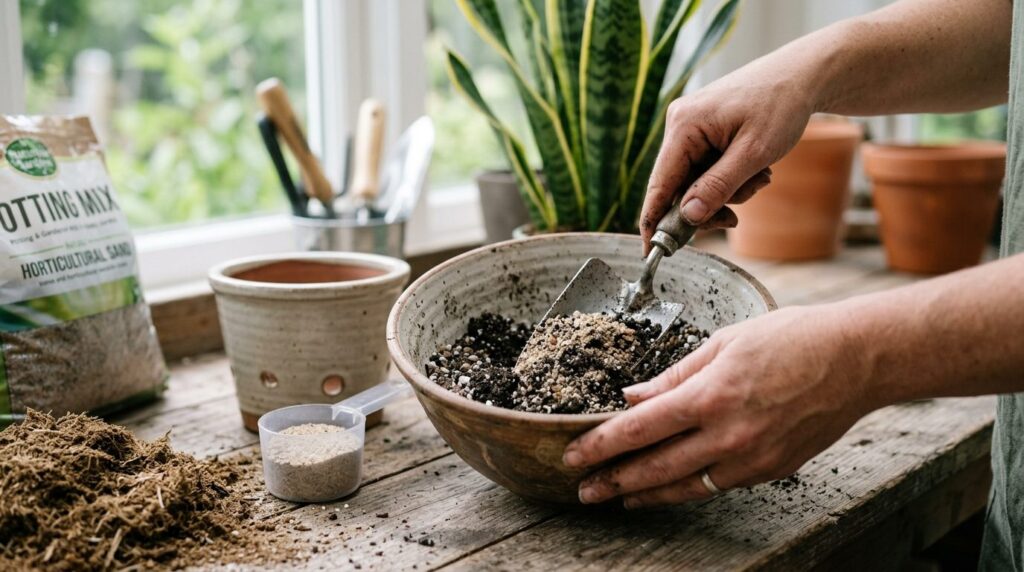
- 🪴 Well-draining potting mix (cactus mix or regular soil with perlite added)
- 🫙 Glass jar or container for water propagation (clear to monitor roots)
- 💧 Filtered or room-temperature tap water (let chlorinated water sit 24 hours)
- 🪨 Perlite or coarse sand for improved drainage (available at Canadian Tire or local nurseries)
- 🧤 Optional: rooting hormone powder for faster soil propagation
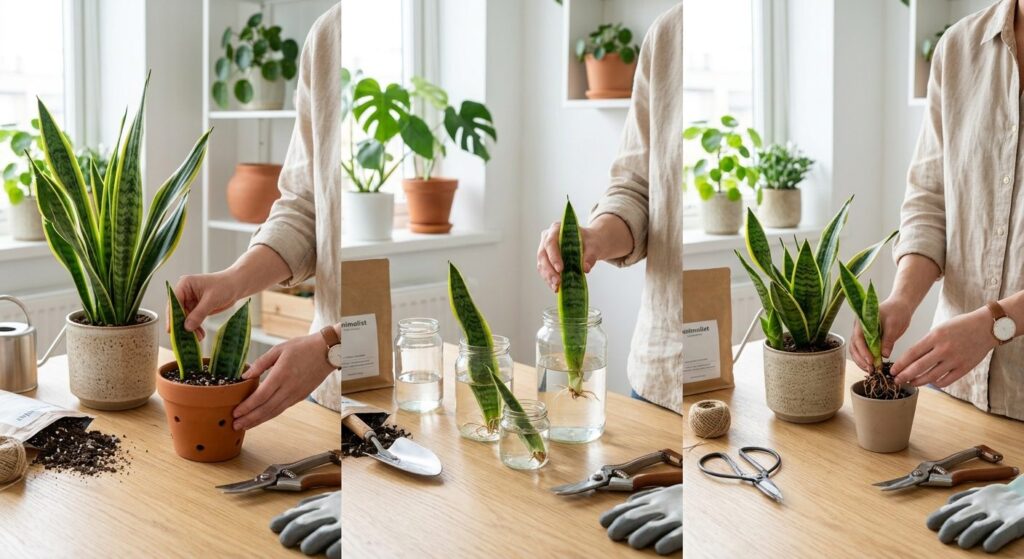
How to Propagate Snake Plants in Water
Step 1: Select and Cut Healthy Leaves
Choose a mature, healthy leaf from your snake plant that shows no signs of damage or disease. Using disinfected pruners, cut the leaf near the base of the plant. Then slice the leaf into 3-4 inch sections, making clean horizontal cuts. Mark the bottom of each cutting with a small notch (the end that was closest to the soil must remain the bottom during rooting). This step is critical because snake plant cuttings will not root if placed upside down. For Ontario gardeners in zone 5, spring propagation (April-May) aligns perfectly with increased indoor humidity as heating systems are turned off.
Step 2: Allow Cuttings to Form a Callus
Place your leaf cuttings on a clean surface in a bright location away from direct sunlight. Let them sit for 24-48 hours until the cut ends develop a dry, protective layer called a callus. This step prevents rot when the cuttings are placed in water. Canadian homes with forced-air heating (common in Alberta and Saskatchewan, zones 3-4) provide ideal conditions for rapid callus formation. If your home is particularly humid (above 60%), extend the drying period to 72 hours to ensure complete callus development before proceeding to water propagation.
Step 3: Place Cuttings in Water
Fill a clear glass jar with room-temperature water (if using tap water, let it sit overnight to allow chlorine to dissipate). Submerge the bottom 1 inch of each cutting, ensuring the callused end is down and the cutting remains upright. Position the jar in bright, indirect light near an east or west-facing window. Quebec gardeners (zone 4) should avoid south-facing windows during summer months, as intense afternoon sun can heat the water and promote algae growth. Change the water every 5-7 days to prevent bacterial buildup and maintain oxygen levels. You should see small white root nubs emerging from the callused end within 4-6 weeks.

Step 4: Transplant Rooted Cuttings to Soil
Once roots reach 2-3 inches long (typically after 6-8 weeks), your cuttings are ready for soil. Fill small pots with well-draining cactus potting mix or regular potting soil amended with 30% perlite. Plant each rooted cutting about 1 inch deep, gently firming soil around the base. Water lightly to settle the soil, then wait 5-7 days before watering again to allow roots to adapt. British Columbia gardeners in zone 8 can transition cuttings outdoors to shaded patios during summer (June-August), but most Canadian climates require permanent indoor placement. New growth typically appears within 2-3 months as the plant establishes in its new container.
How to Propagate Snake Plants in Soil
Direct Soil Method Overview
Soil propagation skips the water rooting stage and places leaf cuttings directly into potting medium. This method takes longer (6-10 weeks for visible roots) but eliminates the transplant shock that sometimes occurs when moving water-rooted cuttings to soil. Prepare your cuttings exactly as described in the water method (healthy leaves, 3-4 inch sections, callus formation).
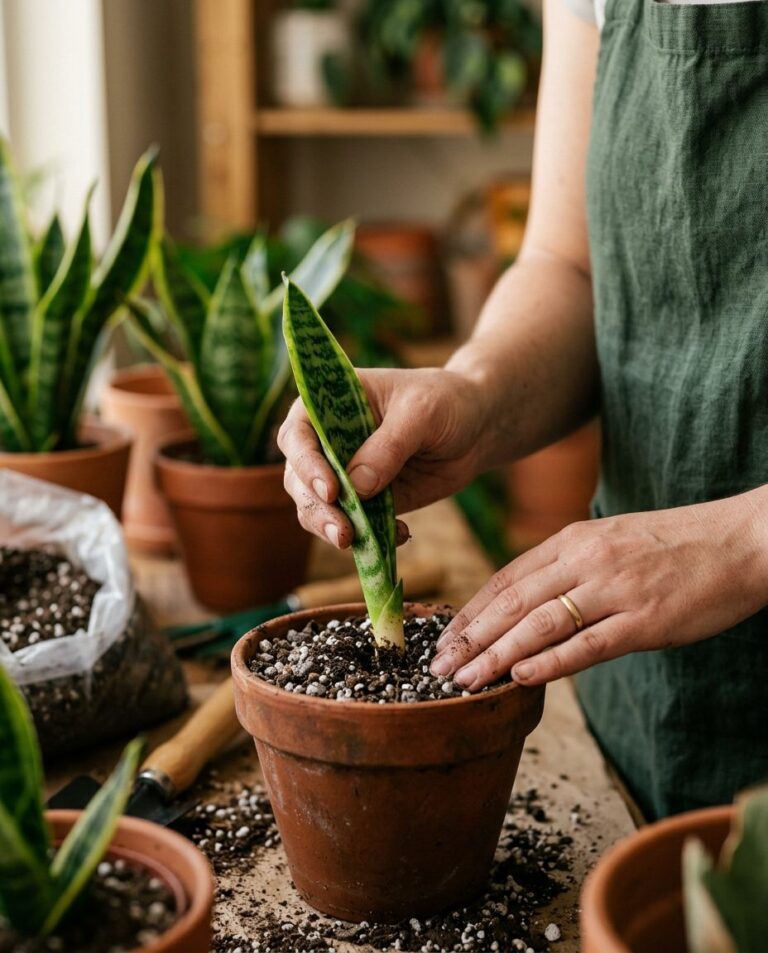
Planting and Care Instructions
Fill small pots with a mixture of 50% cactus soil and 50% perlite for optimal drainage. Insert the callused end of each cutting about 1 inch deep into the soil, ensuring it stands upright. Water very lightly (just enough to barely moisten the top layer) and place in bright, indirect light. For the first 4-6 weeks, water only when the soil is completely dry, typically every 10-14 days. Ontario gardeners in zone 5 should reduce watering frequency to every 14-21 days during winter months (December-February) when evaporation rates drop. Optional: dip the cut end in rooting hormone powder before planting to accelerate root development by 1-2 weeks.
Signs of Successful Rooting
Unlike water propagation where roots are visible, soil-rooted cuttings require patience and observation. After 8-10 weeks, gently tug on the cutting. Resistance indicates root development. You may also notice the cutting standing more firmly in the soil or slight new growth emerging from the top. Alberta gardeners (zone 3) should expect the longer end of the timeline during winter propagation due to lower ambient temperatures and reduced daylight hours.
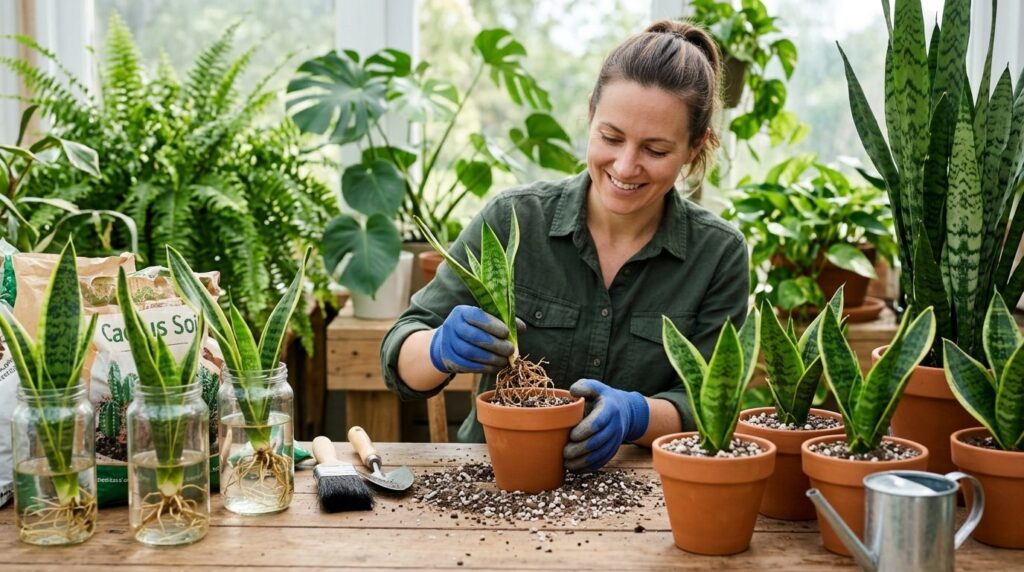
How to Propagate Snake Plants by Division
Understanding Rhizomes and Pups
Division is the fastest propagation method and the only way to preserve variegation in varieties like Sansevieria trifasciata ‘Laurentii’. Mature snake plants develop underground stems called rhizomes that produce new shoots (pups or offsets). When these pups develop their own root systems, they can be separated from the mother plant. This method works best with plants that are at least 2-3 years old and have multiple crowns.
Division Process Step-by-Step
Remove the entire plant from its pot and gently shake off excess soil to expose the rhizome structure. Identify natural divisions where pups have formed their own root clusters. Using a clean, sharp knife, cut through the rhizome to separate individual plants, ensuring each division has at least 3-4 leaves and a healthy root system. Plant each division in its own pot with fresh, well-draining soil. Water lightly and place in bright, indirect light. Quebec gardeners in zone 4 should perform divisions during spring (April-May) to take advantage of the growing season. Divided plants experience minimal shock and typically resume growth within 2-4 weeks.
Advantages for Variegated Varieties
Leaf cuttings from variegated snake plants will produce solid green offspring, losing the distinctive yellow or white margins. Only division preserves the variegation because you’re separating genetically identical plants rather than regenerating from leaf tissue. If you have a prized variegated specimen purchased from a Canadian nursery, division is your only reliable propagation method to maintain the decorative leaf patterns.
Light and Temperature Requirements for Snake Plant Cuttings
Optimal Light Conditions
Snake plant cuttings root best in bright, indirect light. Position them near east or west-facing windows where they receive gentle morning or late afternoon sun without intense midday rays. In Canadian homes, south-facing windows can work during winter months (November-February) when sun intensity is lower, but require sheer curtains during summer to prevent leaf scorch. British Columbia gardeners in zone 8 benefit from naturally diffused light due to frequent cloud cover, making almost any window location suitable year-round.
Temperature Guidelines
Maintain temperatures between 18-27°C (65-80°F) for optimal root development. Avoid placing cuttings near cold drafts from windows or doors during Canadian winters, particularly in provinces like Manitoba and Saskatchewan (zones 2-3) where outdoor temperatures regularly drop below -20°C. Similarly, keep cuttings away from heat vents and radiators that can cause rapid soil drying and temperature fluctuations. Consistent warmth accelerates rooting, with ideal conditions producing visible roots 1-2 weeks faster than cuttings exposed to temperature swings.
Humidity Considerations
Unlike many tropical plants, snake plant cuttings don’t require high humidity. Standard Canadian home humidity levels (30-50%) are perfectly adequate. In fact, excessive humidity can slow callus formation and increase root rot risk. Ontario and Quebec gardeners (zones 4-5) dealing with dry winter indoor air need not worry about adding humidifiers for snake plant propagation, unlike more demanding species like ferns or calatheas.
Common Mistakes to Avoid When Propagating Snake Plants
- Skipping the Callus Formation: Placing fresh-cut leaves directly into water or soil invites bacterial infection and rot. Always allow 24-48 hours for cut ends to dry and seal before propagating.
- Using Dirty Tools: Unsterilized pruners transfer pathogens between plants. Wipe blades with rubbing alcohol before each cut to prevent introducing disease to your mother plant or cuttings.
- Overwatering Soil-Rooted Cuttings: Snake plants are succulents that store water in their leaves. Water soil-propagated cuttings only when completely dry (every 10-14 days) to prevent root rot, especially during Canadian winters when evaporation slows.
- Placing Cuttings Upside Down: Snake plant leaf sections will not root if inverted. Always mark the bottom (the end closest to soil on the original plant) and keep that end submerged or buried during propagation.
- Expecting Fast Results in Winter: Propagation timelines extend by 2-4 weeks during Canadian winters (November-March) due to reduced light and cooler temperatures. Plan accordingly and resist the urge to overwater or overfertilize to speed things up.
Troubleshooting Snake Plant Propagation Problems
Mushy or Rotting Cuttings
If your cuttings turn soft, brown, or develop a foul odour, root rot has set in. This typically results from insufficient callus formation, contaminated water, or overwatering in soil propagation. Remove affected sections immediately, cut above the rot to healthy tissue, allow a fresh callus to form for 48 hours, and restart the process. Ontario gardeners (zone 5) should ensure water propagation containers are cleaned weekly with hot, soapy water to prevent bacterial buildup, especially during humid summer months (July-August).
No Root Development After 8 Weeks
Slow or absent rooting usually indicates insufficient light or excessively cool temperatures. Move cuttings closer to a bright window (within 3-4 feet) and ensure ambient temperatures stay above 18°C. Quebec gardeners (zone 4) propagating during winter should consider supplementing with a basic grow light on a 12-hour timer to compensate for short daylight hours. If cuttings remain firm and green, be patient; some varieties take up to 12 weeks to show visible roots, particularly during off-season propagation.
Variegation Loss in New Plants
This is not a failure but a biological reality. Leaf cuttings from variegated Sansevieria produce solid green offspring because variegation is a genetic mutation not carried in leaf tissue. To preserve variegation, you must propagate through division of rhizomes, separating pups that carry the same genetic code as the mother plant. British Columbia gardeners (zone 8) who want to maintain their variegated varieties should focus exclusively on division rather than leaf propagation.
Algae Growth in Water Propagation
Green, slimy buildup in propagation jars is common but harmless to cuttings. Algae thrives in bright light and nutrient-rich water. To minimize growth, change water every 5-7 days, use opaque containers instead of clear glass, or move jars slightly farther from windows. Alberta gardeners (zone 3) can also add a small piece of activated charcoal to the water, which absorbs impurities and inhibits algae without harming root development.
Regional Tips for Canada
Quebec and Ontario (Zones 4-5)
Time your propagation projects for late April through September to take advantage of longer daylight hours and warmer ambient temperatures. During winter months, position cuttings within 2-3 feet of south-facing windows to maximize limited sunlight. Homes with forced-air heating create ideal low-humidity conditions for callus formation but may require occasional light misting of soil-propagated cuttings if leaves show signs of shriveling (rare but possible in exceptionally dry conditions).
British Columbia (Zones 7-8)
Your mild coastal climate and naturally diffused light create excellent year-round propagation conditions. Water-propagated cuttings may root 1-2 weeks faster than in colder provinces due to consistent moderate temperatures. Take advantage of covered patios or shaded outdoor areas during June through September to give cuttings fresh air circulation, which can reduce fungal issues. Bring them indoors before nighttime temperatures drop below 10°C in late September.
Prairie Provinces (Zones 2-3)
Manitoba, Saskatchewan, and Alberta gardeners face extreme temperature swings and very dry winter air. These conditions are actually advantageous for callus formation and preventing rot. However, the short growing season and intense winter cold mean indoor propagation is essential year-round. Position cuttings away from cold window glass during November through March when outdoor temperatures regularly hit -30°C or lower. A simple sheer curtain creates an insulating barrier while still allowing light penetration.
Atlantic Provinces (Zones 5-6)
Nova Scotia, New Brunswick, and Newfoundland gardeners benefit from moderate coastal climates but must contend with high humidity, especially during summer months. This can slow callus formation and increase rot risk. Extend the drying period to 48-72 hours before placing cuttings in water or soil, and ensure excellent air circulation around propagation areas. A small fan on low speed can help, particularly during humid July and August conditions.
Pro Tip: Snake plants propagated during Canadian spring (April-June) establish faster and show more vigorous growth than those started in fall or winter. Plan your propagation projects to align with increasing daylight hours for best results across all provinces.